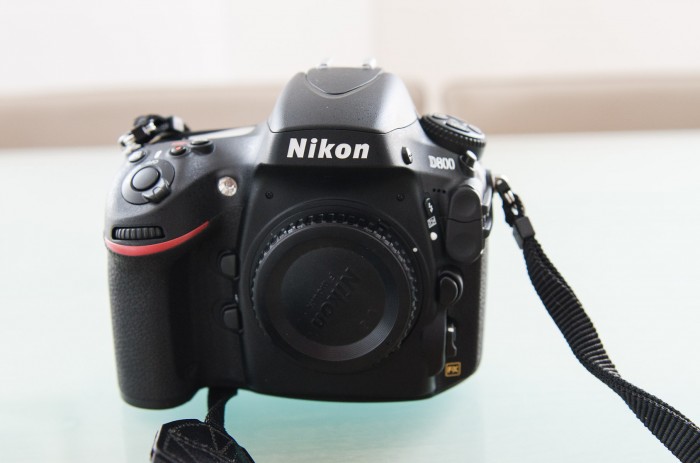
Nikon D800 impressions

Thursday, July 26th, 2012 at 17:42

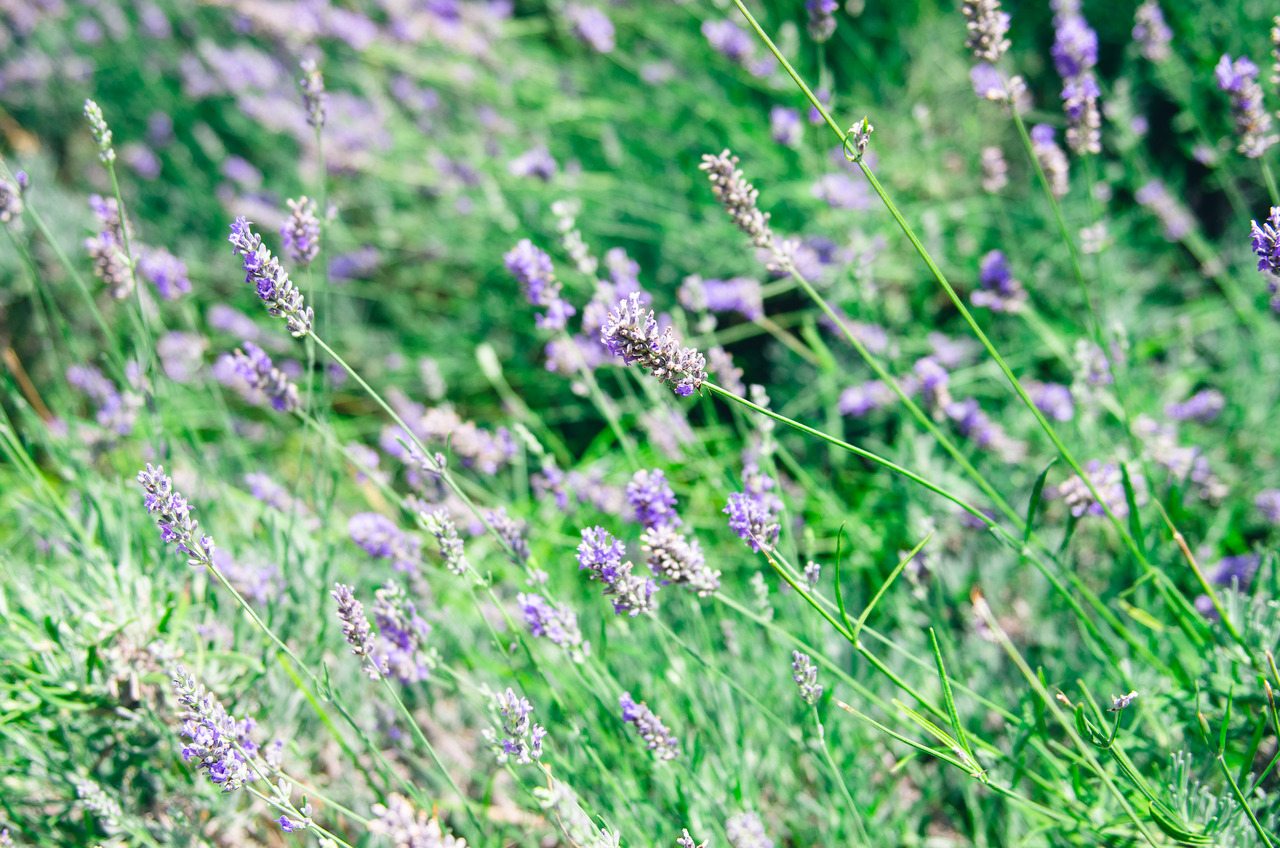
1. Bike on the street

Nikon announced 2 new pro cameras at the same time in March: the D800 and D4. I rented the Nikon D800 for a day to get an idea of it’s capabilities. One day is brief but I think I still got a good impression of what it’s like to shoot with this camera.

The D800 is a full frame camera. In terms of size it’s very similar to my D7000 and D70. It’s the D4 that’s “bigger” by default.

In terms of price it’s around €2,899 euros (the D4 is about €5900). That makes it pretty expensive.

For storage it has an SDHC slot and a CompactFlash slot (the D7000 has 2 SDHC slots which I liked better).

It doesn’t have a USB port so it’s best to get an external reader for your cards. If you have a Macbook or iMac you can just pop in the SD card on the side of your machine. You’ll likely want a second card for overflow/backup so you’re going to need a card reader anyway.

Some images are linked to Flickr so you can check out the images in full resolution. Be warned though, they’re pretty heavy. The bike one weights in at 17Mb. All of the pictures are slightly edited in Lightroom 4.

I was surprised that I didn’t find an ethernet port on the D800 (there is one on the D4). It looks to me that the insane resolution is perfect for product shoots, where you’ll probably be in a studio so you can immediately evaluate the results on a big screen.

There are the WT-4 and the new WT-5 wireless transmitters though, I don’t have any experience with these yet. I wonder if that’s speedy enough.

The biggest advantage to this camera is the resolution increase: most DSLRs shoot 12 or 16 MP files. The D800 shoots 36MP. Now, people will tell you that megapixels don’t matter, and that’s true to some extent. Most of the times your pictures aren’t going to be shown on billboard size. But what does matter to every photographer is what remains of a picture after a tight crop. This kind of resolution enables you to crop an image exactly the way you want it and be left with enough resolution.
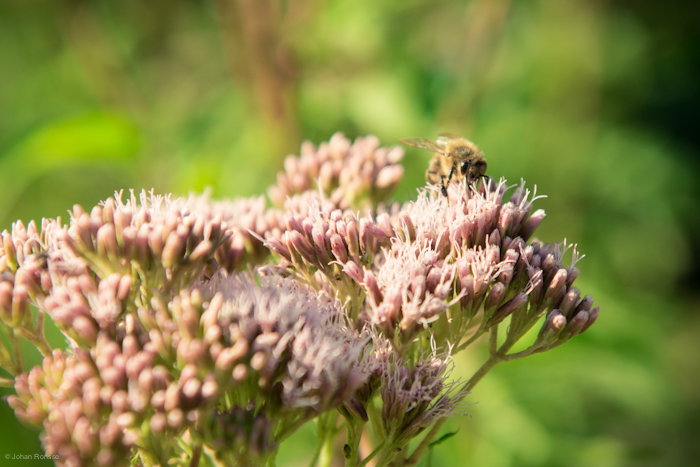
Bee – who needs macro gear if you can just crop? (View original)

The biggest advantage is also it’s biggest disadvantage – the camera’s RAW files brought my 2009 iMac to a halt on several occasions. A fast computer is definitely recommended, and by fast I mean SSD equipped with a newer Intel I7 processor and 16+ Gb of RAM. I could edit my pictures in Lightroom on this “older” computer (w/ 8Gb of RAM nonetheless) but it wasn’t fast and there was a lot of waiting involved. Bringing pictures into Photoshop for heavy editing is generally even heavier so I didn’t even try that.

With Apple not caring so much about the pro segment of the market, one can start wondering whether a well equipped PC isn’t better for a photo editing setup than a Mac. You spent 90% of your time in e-mail, Photoshop, Lightroom so it’s not like you have to deal with the OS all that much. You can get 32Gb of RAM cheaply. You can drop in SSDs at normal prices instead of Apple markup prices. I’ve got a lot to say on this subject but that’s for another time!

Back to the D800. I think a lot of architecture and nature photographers are going to love this camera. The kind of detail it captures is crazy. Look at this picture. Do you see the clock in the distance?
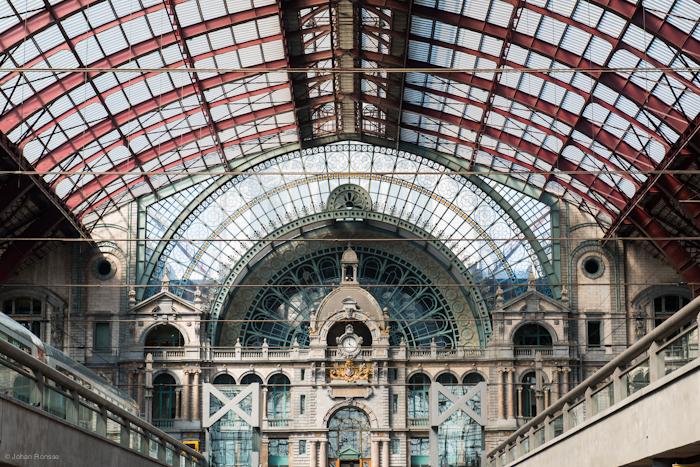
2. Central Station in Antwerp

Here’s that very same clock again:
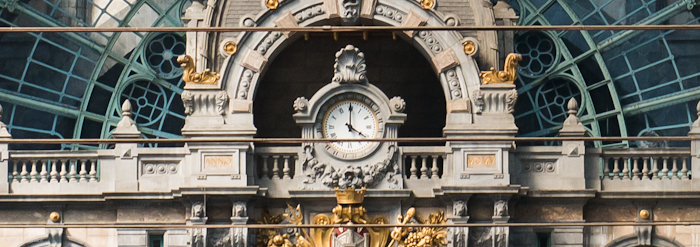
The quality obviously degrades a bit if you start zooming in but this level of detail at this price is unseen in digital SLRs. To really get a good look you should visit this Flickr page and click on “original”.

In terms of handling the camera, the controls layout changed a bit. Compared to the D7000 you can change modes and ISO without looking away from the camera more easily. I don’t think it’s a worse layout, but if I ever buy a D800 it will take some time getting used to.

The autofocus is good, the 51 point system is a step up from the 39 point system. It works great for stills when you have the time to compose.

I couldn’t reliably track subjects in motion and take a good picture of them using autofocus. My subjects were diving penguins and seals in semi-darkness so that might have had something do with it.

Focussing seems to work better on faces than on anything else, that’s the software in action I guess.

You can set the camera to ISO 1600 and see virtually no noise, that’s not really new but it’s still good. Higher ISOs start to introduce more and more noise. I didn’t really test this too much.

I shot some portraits to test the camera. This one was shot with an SB-700 flash attached. The focus was dead on and I only had to take 1 shot.
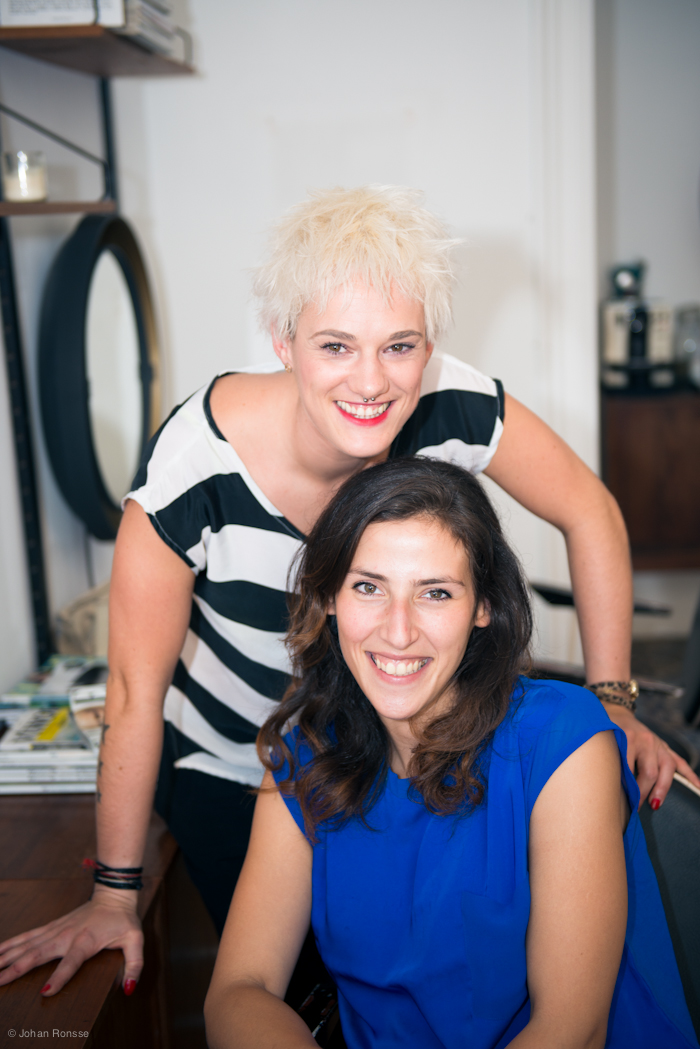
SnipSnip

I’m curious to what Nikon is up next. The D800 is amazing and I probably won’t stop thinking about it over the next few weeks.

However, I’m also not entirely convinced I should get this camera at this point in my fresh photography career. Interesting subjects, composition and mostly getting good light are way more important than whatever body you are rocking. If I have an important shoot I’ll probably rent it though.

I’ll hopefully be looking into the D700 next week.

Over and out!
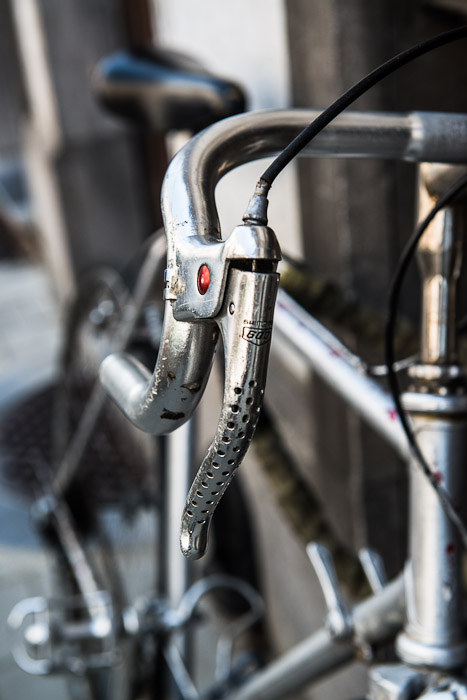
Testing this bad boy today. I only have it for 24 hours so off to shoot now. Reporting in later!

Going pro

Wednesday, July 25th, 2012 at 9:26

TL;DR: aside from being a freelance designer, I’m starting as a freelance photographer.

Over the past two days I’ve been building a new website. It’s the site you’re visiting right now.

It consists of a portfolio and a blog. The goal of this website is to promote my commercial photography. I’m still a bit scared to call myself a “photographer” but I’m very very serious about going forward with this.

My passion for photography got a major boost when I started my 365 project a few months ago (post a photo to a blog every day – see the archives of this blog) and I’m ready to take it further. To this end, I will start taking on photography assignments and will actively be pursuing them.

I know this will be a slow process, probably starting off with small assignments, learning along the way.

I don’t fancy myself a high-end super-skilled photographer, but I think there’s work out there that I can definitely handle, and where I can deliver a professional result.

Some businesses might benefit from the fact that I can deliver branding, design and photography in 1 package. I see a lot of photographers out there that — while taking pictures I can only dream of making — frame them in ugly websites or watermark them so much that their careful composition is ruined.

Let me tell you a bit of my “photography” story. I bought my first second hand DSLR in 2007. It was a Nikon D70. I started photographing concerts and events in my free time.

I learned a bit about photography but after a while the camera started gathering dust while I concentrated on my job as a web designer for a web design company called Netlash (now Wijs).

I worked there for a couple of years learning all I could about web design. The company started doing other things (SEO, SEA, marketing etc.). I felt ready to make a career jump so I decided to go freelance as a UI designer.

Under the name Wolf’s Little Store I design user interfaces for software. These days it’s mostly iOS/Android/Windows Metro interfaces. Aside from that, it’s varied work: sometimes UX work for large-scale backends, sometimes a small website for a new company.

Fast forward to summer 2011, the Nikon D7000 is out and I’m buying one. This kind of marked the start of getting back into photography. The kind of photos you can take with that camera are pretty amazing. I don’t want to get into a gear debate here but better gear definitely gets you better results.

I started expanding my skills. I learned about off-camera lighting (“strobist”), I took a course on flash photography. I got a driver’s license and I have a car available. If that last part seems unrelated, it’s actually very important for shoots.

I shot more and more and to keep things going and to keep learning I started the 365 project. The goal of that project was to post a picture to a blog every day. I’ve been doing that for over 100 days now and it’s been great.

It’s been so great in fact that I want to keep doing this. But I also want to keep the design side going. Why not both? So – from now I’m not a freelance designer anymore but a freelance designer/photographer.

This site contains a selection of my best work. Over the next few months I’m aiming to expand it with more commercial looking work to give potential “buyers” a better idea of what I do.

Thanks for your attention and if you have any feedback, drop me a line or post a comment!

P.S. If you want to follow this site via RSS, use http://photography.johanronsse.be/rss as the RSS address.

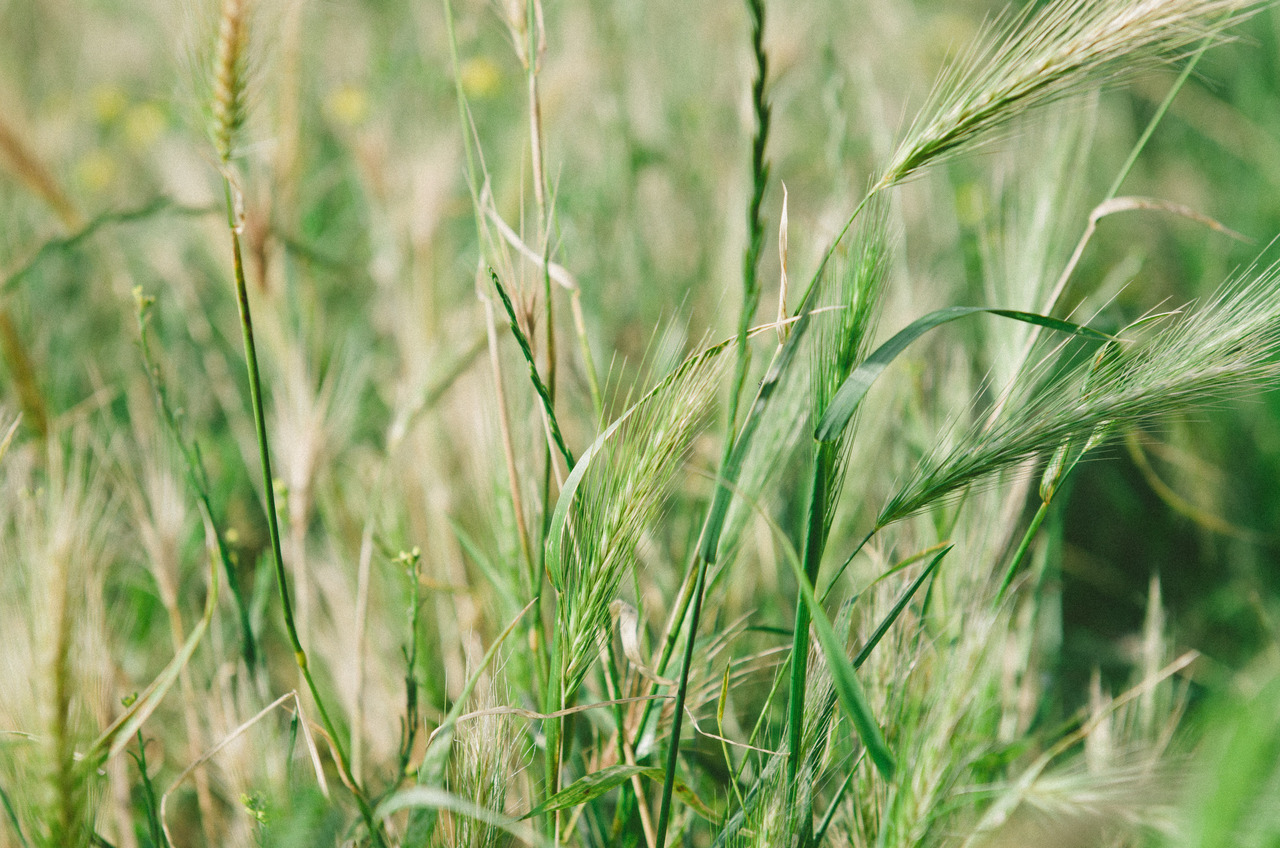
106 – Grain

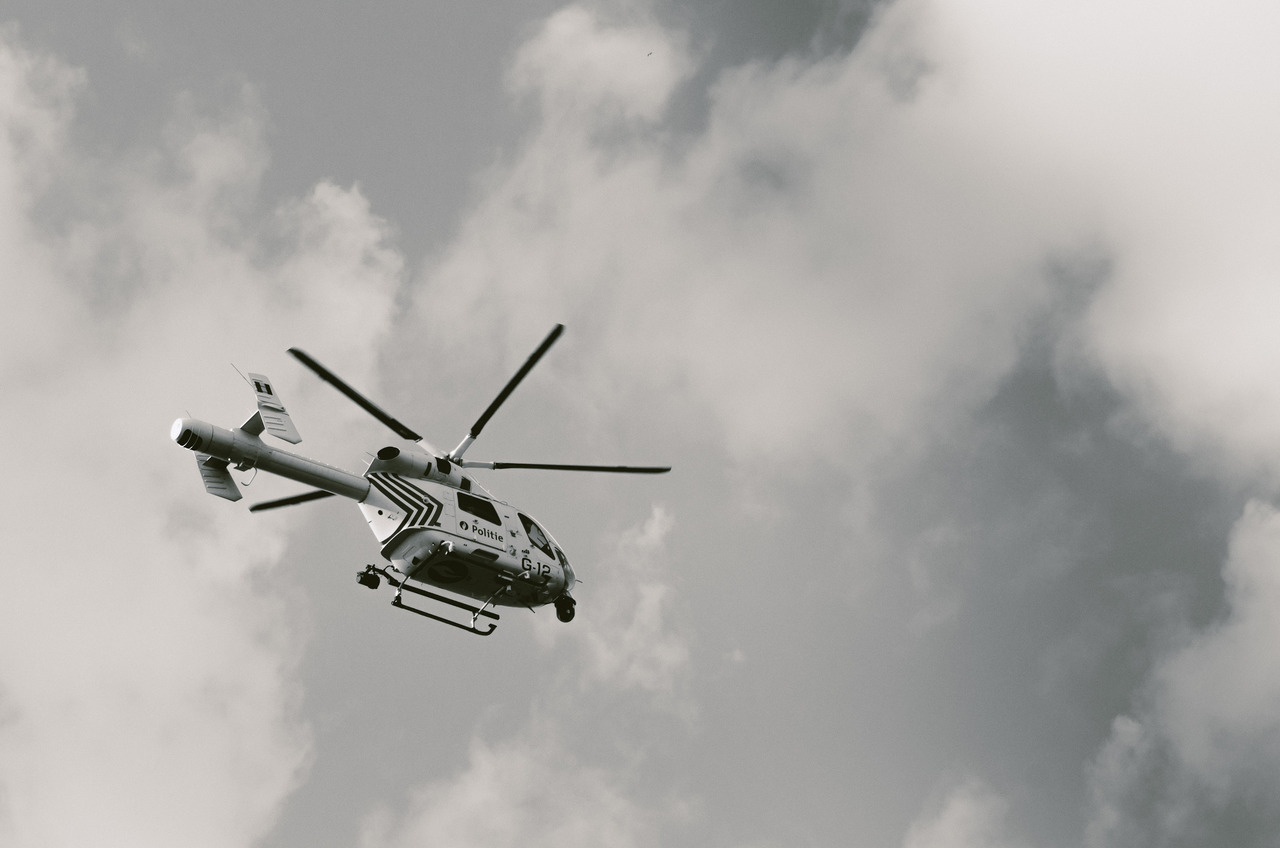
105 – Police

104 – Beer

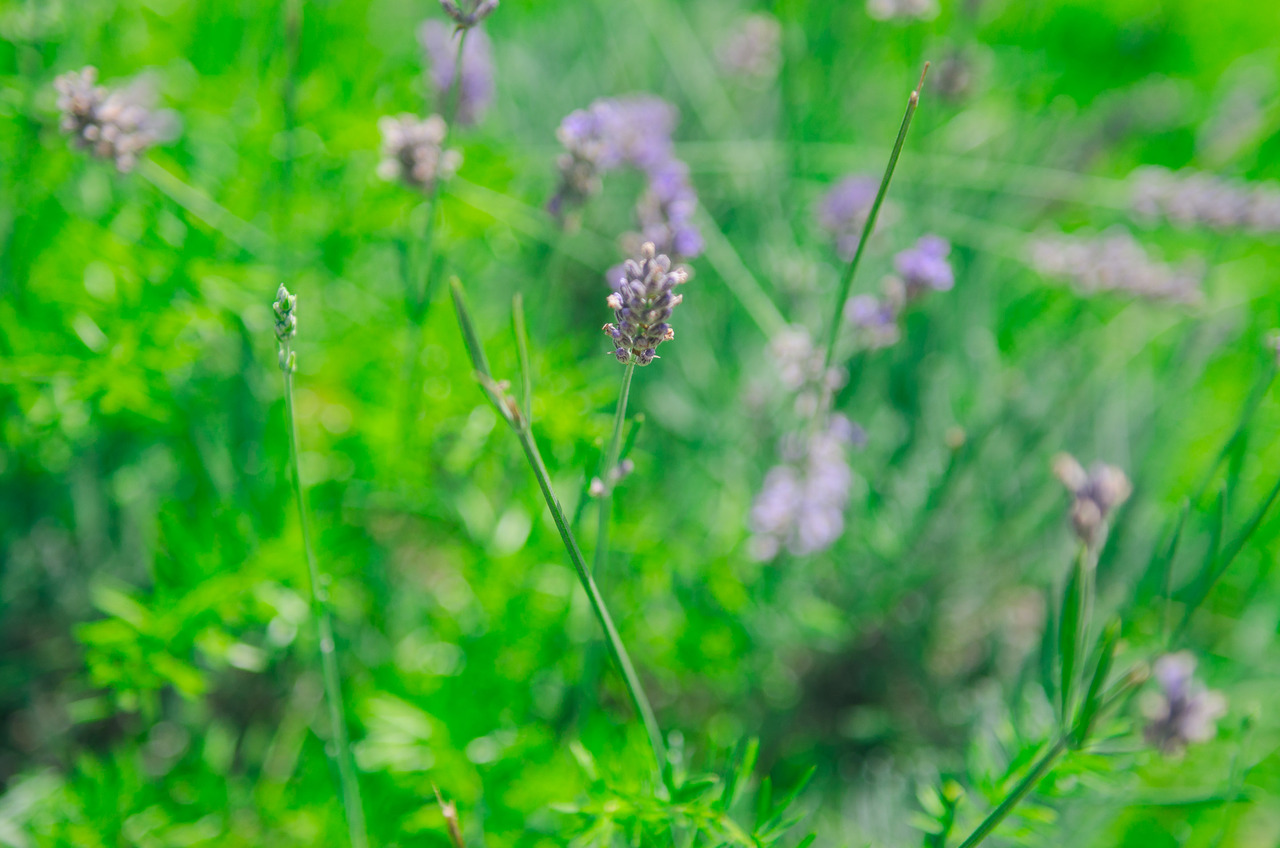
103 – Lavender (2)

More on filters

Friday, July 20th, 2012 at 20:11

  • A company called Lee Filters makes an ND filter called “The Big Stopper” that stops light up to 10 stops. Unfortunately it’s quite popular and on backorder.
  • Graduated neutral density filters: the popular opinion on these is that it’s easier and more flexible to just add a gradient in postprocessing

102 – Lavender

Different photographic filters

Thursday, July 19th, 2012 at 10:04

A post about the different photographic filters, this info is widely available so it’s mostly a summary for myself.

UV filter

This one just looks like a piece of glass you put in front of your lens. Mostly used by photographers to protect expensive lenses from harm. Rather have a scratch on the UV filter than the €1400 lens, right? Cheapest filter (€10-50). Also reduces haziness created by ultraviolet light, according to Wikipedia, but I have yet to see the difference in actual use.

Polarizer filter

This filter looks like a grey piece of glass. You can turn this filter to reduce reflections. A bit more expensive (€40-€120) This is great when photographing stuff on a glass table or cars. Supposedly also adds more contrast too (have not seen this in practice). If you look this kind of filter up you see tons of extreme A/B images (examples on Wikipedia) but the reality is a bit less spectacular.

A bit of a warning here, since the filter blocks some light you lose about 1,5 to 2 stops of exposure. 1 stop can be critical in low light situations so don’t run around with the polarizer on your camera all the time.

Neutral density filter

ND stands for neutral density filter. This one seems to look similar to a polarizing filter. I haven’t used this yet. Seems expensive for a filter (€100-200) Putting this on a camera modifies the intensity of the wavelengths of light equally i.e. it turns the brightness down. You can turn it to change the intensity. One ND filter I looked up claims up to 9 stops difference.

This supposedly allows you to shoot better in bright daylight (use lower apertures in the sun). An oft-stated example is also photographing waterfalls: using the ND filter you can use lower shutter speeds (without bringing in too much light so the photo looks overexposed). Looks like an interesting filter to play with!

A special type of ND filter called a graduated filter exists too, this seems nice for landscape photographers. However, wouldn’t you shoot a bracketed HDR these days and fix the exposure in post-processing?

Close up filter

Close up filters are basically magnifying glasses you put in front of your lens. Seems relatively cheap (€100 for 3). I read about this in the Up Close book about macro photography. I have yet to try this kind of filter.